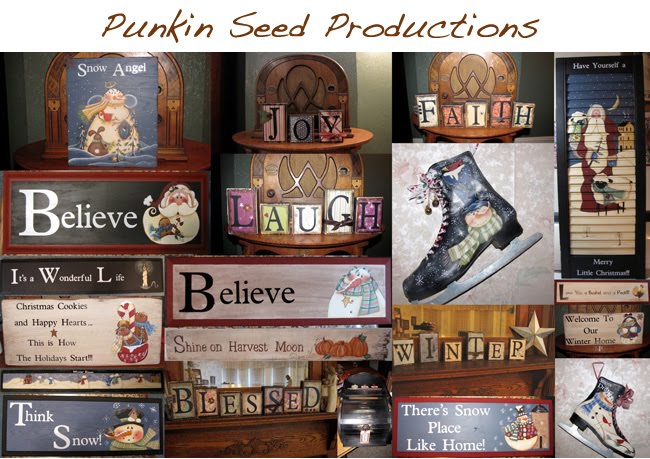
Welcome everyone! I'm so excited to jump into the world of blogging and sharing what I love to do - crafting, repurposing, and basically anything artsy fartsy!!!! I have always liked to craft, but have just recently started selling on etsy at the suggestion of my sisters who I did a bizarre with =0).
I thought I would start out my blog with a little tutorial on how to craft these cute snowmen. Unfortunately, I didn't take pictures in the process, but it is pretty self explanatory. I love comments and want to get to know others who craft and/or like crafters!!! =0)
Here is the list of supplies:
6 inch Styrofoam cone
2 inch Styrofoam ball
Model Magic White Air Dry Clay
Paint
twigs
scrap material and embellishments (buttons, etc)
These were so fun to make. First cut the very tip off the Styrofoam cone. Then attach the cone to the ball - you can put a tooth pick in them to hold them until after you get them covered with clay.
Then take your clay and roll it out with a rolling pin. After you have it big enough to cover the Styrofoam ball, just fit it over the ball, using your fingers to stretch and smooth. You want a fairly thin layer - but be careful to not make it too thin or it will crack. Do the same thing to cover the cone. Don't worry about getting it perfectly smooth as snowmen have bumps - it makes it look more like snow!!
Don't forget to mold a nose out of the clay and smooth it on. The hats were made out of clay also. For the top hat, cut a small cylinder out of Styrofoam (I used the left over top I cut off the cone), shape it like the top part of the hat and then cover with clay and make a brim out of clay. Then attach it to the head, smoothing the clay seams. I also stuck twigs in for arms and shaped some cute little mittens out of clay. Don't forget to add buttons!
Let the cute little fellows dry overnight and then paint as you desire! I also painted on modge podge after they paint was dry and dusted them with glitter.
Here are a couple of the little fellows helping me display a sign I recently painted to sell on etsy:


Yay! I am your first commenter. You need to put this on One Pretty Thing.
ReplyDeleteThese are absolutely adorable!!
ReplyDeleteI must make some! Thanks for the tutorial!
What cutie little snowmen!
ReplyDeleteThose are just precious...thanks for the great idea! Kim
ReplyDeleteFun! Thank you so much for linking up to Tip Junkie. You ROCK!
ReplyDelete